


Makeup for beginners: what do you need and in what order?
Getting started with makeup is easier when you start small. Below, find your basic kit, the right order and a routine to practise straight away.
Your first basic kit: blush, mascara and a lip product. Add concealer where you want coverage. You can try foundation, primer and eyeshadow later.
Short on time? Go straight to the simple 5–10-minute routine.

What makeup do you need as a beginner?
Start with the result you want. Just want some colour and shine? You do not need to buy foundation. Want to make a small red spot less visible? Try a little concealer first.
1. Coverage where you want it
Use concealer locally, for example on a blemish or under your eyes. Spread foundation over a larger area to even out your complexion. Choose the coverage that suits your desired result.
2. A little colour
Blush adds colour to your cheeks. Choose one shade you enjoy wearing and build it gradually. You do not need a whole blush palette for your first look.
3. Emphasis on your eyes
Mascara makes your lashes more visible. An eyebrow brush helps shape the hairs. Add eyeshadow, eyeliner and false lashes when you want to practise with them.
4. A comfortable lip finish
Lip balm, lip oil or lip gloss is an easy starting point. Want more colour or definition? Add lipstick and lip liner later.
Useful tools: a well-lit mirror, a soft blush brush and, if needed, a sponge or brush for your base. One soft eyeshadow brush is enough for one colour. Use clean hands and tools, and have a suitable makeup remover ready too.
Buy a few products you can learn to use rather than a large makeup set where half goes unused. Unsure about colour? See which blush suits you and how to choose a suitable lip colour.
In what order do you apply makeup?
For a routine with liquid foundation and powder blush, follow the order below. Simply skip any product you do not use.
After your skincare:
- Primer
- Foundation
- Concealer
- Powder
- Powder blush
- Highlighter
- Eyeshadow
- Lashes and brows
- Lip product
Using cream blush or liquid highlighter? Usually apply these before setting powder. Follow the instructions for specialist formulas.
Above all, remember to work in thin layers. Cream products can be harder to spread evenly over a lot of powder. Let your base settle first and apply powder only where wanted. With eyeshadow that produces lots of fallout, do your eyes first and your base afterwards.
Applying makeup for beginners: step by step
Set out your products and look at your face in soft daylight. Practise without rushing the first time. Choose the steps that match your basic kit.
Start with skincare
Apply your usual skincare to a clean face. During the day, also use sunscreen as directed on its packaging. Let skincare absorb before starting makeup. A very wet or slippery base can be harder to work with.
1. Primer: only if you want it
Primer is a preparatory layer under makeup. Use a small amount where you want to adjust the finish, for example your T-zone. Does foundation already work well on your moisturised skin? You can skip primer.

2. Foundation: even out where needed
Test the shade at your jawline and check it in daylight: the transition to your neck should look natural. Start with a small amount where you want coverage. Blend outwards with a brush or dab with a sponge. Soften the edges at your jaw and hairline.
Beginner's tip: add extra coverage only to a specific spot. You do not need another layer over your whole face.

3. Concealer: work locally
If you use foundation, apply it first. You can then see where you still want concealer. Place a small dot on a spot or dark area under the eye and dab out the edge. For blemishes, choose a shade matching your skin; a much lighter one can emphasise them.

Practice moment: keep coverage on the spot. Place one small dot of concealer and dab out only the outer edge first. Then look from arm's length to see whether you need more. This prevents spreading the product over an ever-larger area.
4. Powder: set selectively
Apply a thin layer where your base quickly becomes shiny or moves, for example beside your nose. You do not need powder everywhere. Use little under the eyes and gently smooth any creased concealer first. Have dry skin or want to keep more shine? Skip powder in those areas.

5. Blush: add colour to your cheeks
Pick up a little powder blush and tap off the excess. Start on the fuller part of your cheek, slightly away from the nose, and work softly outwards. Blend the edge, meaning soften the transition until there is no distinct stripe.
Look at your face from the front before adding more. Our guide to applying blush offers more placement tips.

Practice moment: start with one cheek. Apply one thin layer of blush and check the difference in the mirror before picking up more product. Too much colour? Blend with a clean brush first. Then use the same small amount on the other cheek.
6. Highlighter: a small accent is enough
Highlighter reflects light and adds shine. Apply a small amount on top of your cheekbones and blend the edge. Check the shine from different angles before using more. A small luminous accent is enough for a subtle result.
The Golden Hour Cloud Highlighter has a warm golden shade. Want to know where to place shine first? Read what highlighter is and where to apply it.

7. Eyeshadow: start with one colour
Choose a matte shade slightly darker than your eyelid. Apply a little to the mobile lid and blend the upper edge with a soft brush. The crease is the fold above your mobile lid; you can add a slightly darker shade there later.
Want shimmer? Dab a little onto the centre of the lid. You do not need to use every palette shade in one look. The Ultimate Nude Eyeshadow Palette contains six matte and three shimmer shades to vary your look.


8. Lashes and brows: keep it simple
Brush your brows in the direction you want and fill in only where desired. Apply mascara from roots to tips. Start with one coat and decide whether you want more definition.
False lashes are optional. To practise, try them as a separate step when you have time. See our step-by-step half lash guide, including placement and glue tips.

9. Lips: choose shine, colour or both
For a simple lip look, apply a thin layer of balm, lip oil or gloss. For a lip combination, first outline your lips with a liner close to your natural colour. Blend the line slightly inwards and add your lip product.
The Ambitious Lip Oil gives a clear, glossy finish. Also read the difference between lip oil and lip gloss or practise applying lip liner.


A simple everyday makeup look in about 5–10 minutes
Want to start tomorrow? Try this short routine after skincare. The time is a guide; as a beginner, take longer if needed.
- Concealer where desired. Dab a little onto spots or under your eyes.
- Blush on your cheeks. Start lightly and blend the edges.
- Shape your brows. Comb the hairs with a brow brush.
- One coat of mascara. Give your lashes a little more definition.
- Lip oil, gloss or balm. Choose a finish that feels comfortable.
Applying powder blush over still-sticky concealer? Let the base set first and lightly powder that area if needed. Want more glow? Add a little highlighter.
Finally, check your look in daylight and from a little distance. The goal is a result you feel comfortable with. Visible skin texture is part of that.
Five beginner mistakes and what to do about them
- Your foundation looks thick or patchy
- Gently dab with a clean sponge without adding another layer. If one area stays uneven, remove some product there and redo it locally. Next time, try less product and let skincare absorb first.
- Your concealer collects in lines
- Dab accumulated product smooth before lightly powdering if desired. More concealer is usually not a helpful first solution; start with less next time.
- Your blush has become too bright
- Blend the edge with a clean brush. If needed, dab very lightly with the sponge you used for your base, without adding foundation. Check the result before correcting further.
- Your eyeshadow has a harsh edge
- Use a clean, soft brush and small movements along the edge. Do not add new colour while blending. This gives you better control over intensity.
- You try everything at once
- Practise one technique first, such as blush or lip liner. Add another step only once you know how much product you like. This helps you discover which products add something to your routine.
Also part of your routine: remove makeup before bed and keep brushes and sponges clean. Our guide explains how to clean a beauty blender.
Frequently asked questions about makeup for beginners
Do beginners need foundation?
No. You can create a look with just blush, mascara and a lip product. For local coverage, use concealer. Foundation is an option when you want to even out a larger area of your complexion.
Should concealer go before or after foundation?
With liquid foundation, afterwards is a useful starting point: you can see where more coverage is needed. If using only concealer, apply it after skincare and optional primer. Colour correctors and powder foundation may need a different approach.
Do you apply powder before or after blush?
With powder blush, you can lightly powder a sticky base first to help colour spread evenly. Cream blush usually goes before setting powder. You do not need to powder your whole face; let the texture and desired result guide you.
Is primer essential for a beautiful makeup look?
No. Primer is optional. Start with your usual skincare and see how makeup applies and wears over it. Try a suitable primer later if you want to adjust shine or finish.
How do you achieve a natural makeup look?
Work in thin layers, limit coverage to where you want it and blend the edges of blush, eyeshadow and lip liner. Choose colours that complement your skin and lip colour. Your natural skin can remain visible.
Which makeup brushes do you really need?
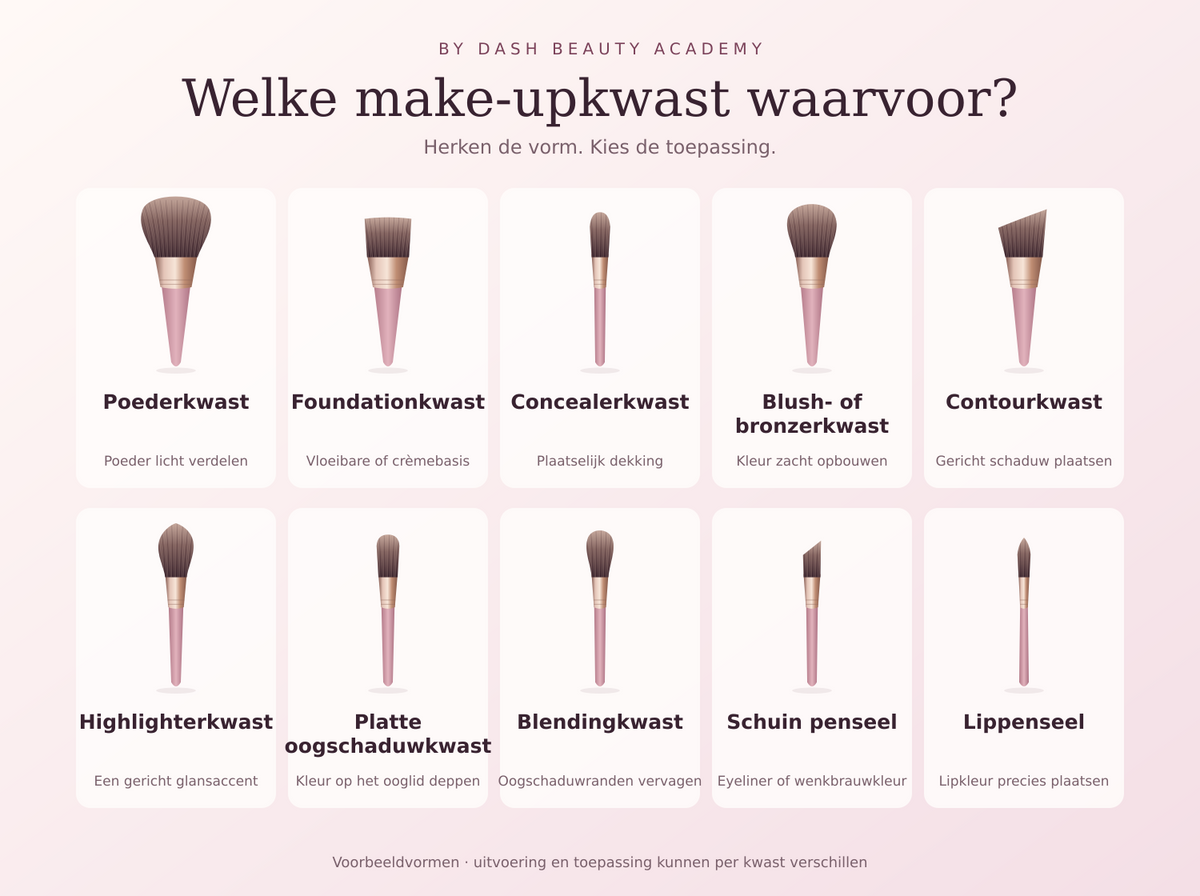
It depends on your products. A soft blush brush is useful for powder blush; for one eyeshadow colour, start with one soft eyeshadow brush. Depending on the formula, concealer can also be dabbed with clean fingers or a sponge. An extensive brush set is not essential.
Choose one technique to practise further
Found your basics? These guides help you take the next step:
- Applying blush without harsh edges
- Applying highlighter in the right places
- Choosing and applying lip liner
- Applying half lashes step by step
Where would you like to start?
Choose based on your desired effect. Use what you already have first; one addition may be enough.
Colour on your cheeks
Practise with a thin layer of pink powder blush and soft edges.
View Girly Girl BlushPractising eyeshadow
Start with one matte shade from the nude palette and learn to blend the edge first.
View the Nude Palette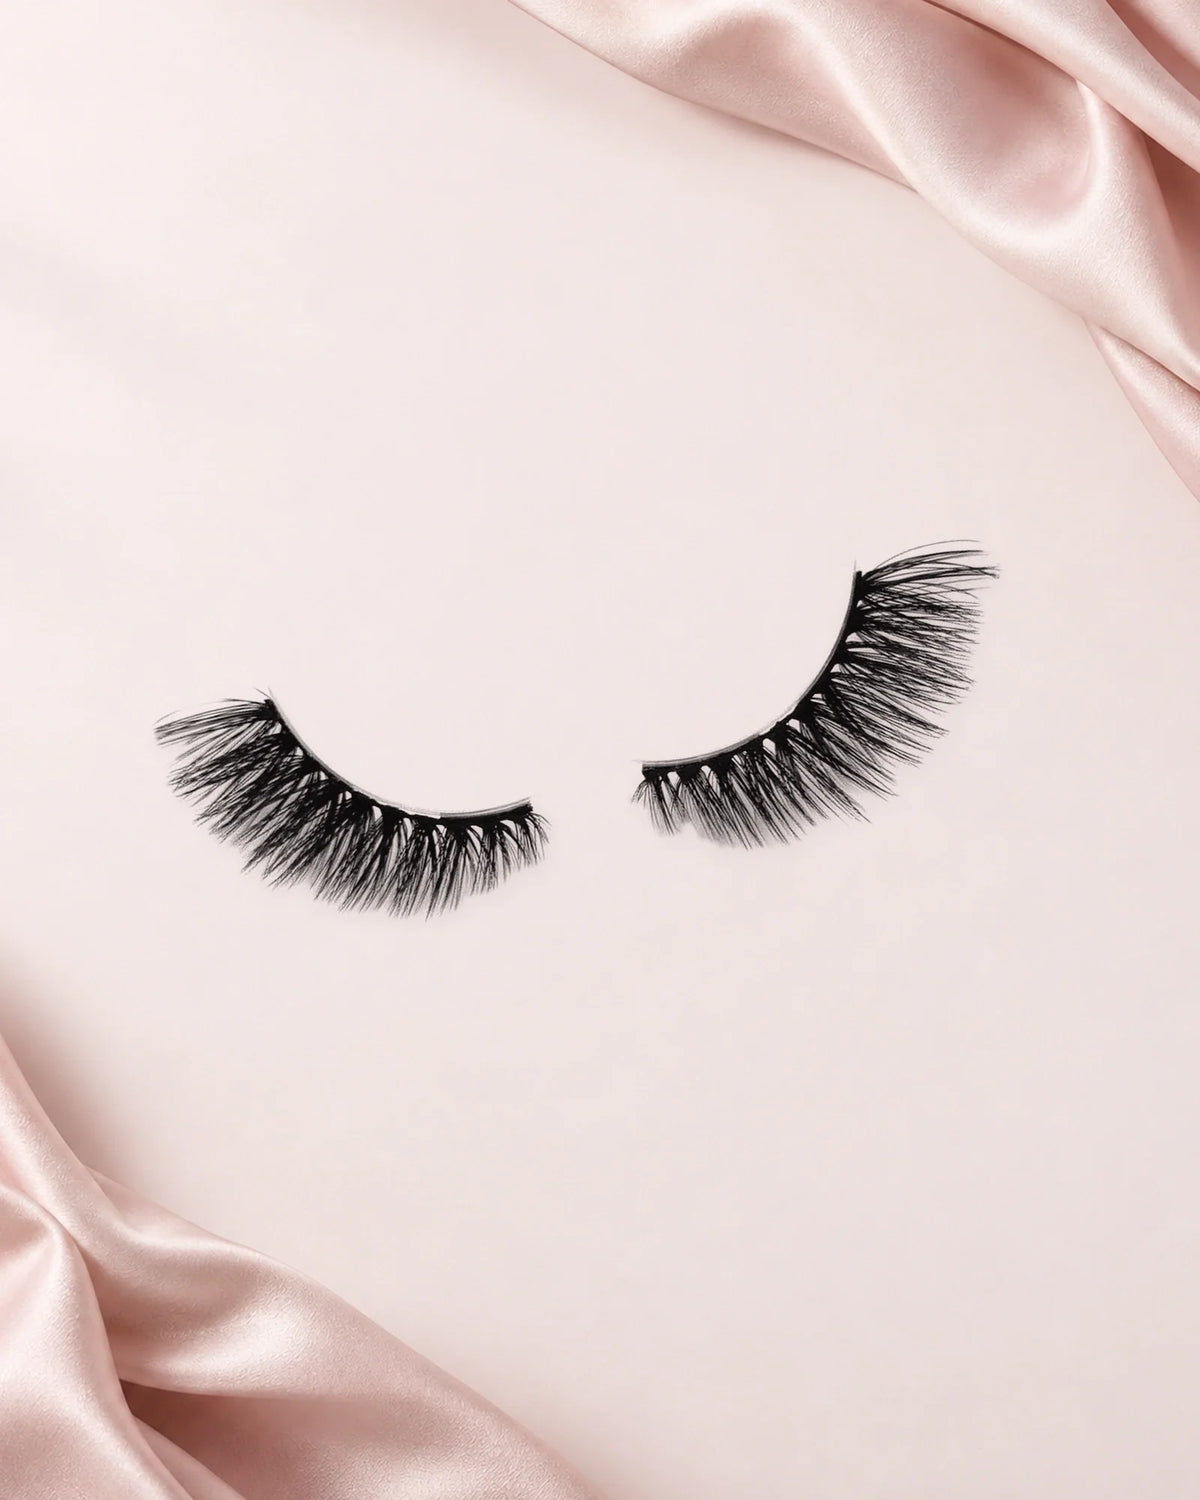

Leave a comment
This site is protected by hCaptcha and the hCaptcha Privacy Policy and Terms of Service apply.