


Applying lip liner: steps, choosing a shade and pairing products
Apply lip liner with short, light strokes along your natural lip line. Start at the centre of your upper lip, work towards the corners, then follow your lower lip. Blend the line slightly inwards and finish with lipstick, lip gloss or lip oil. A shade close to your natural lip colour keeps the effect subtle; a darker liner makes the outline more visible.
A beautiful lip look starts with the shape and finish you want. This guide explains what lip liner adds, how to use it step by step and how to choose a shade. You will also find three combinations with By Dash Beauty products to try.
What does lip liner do and what are its benefits?
Lip liner is a coloured lip pencil used to draw the outline of your lips. You can also use it to fill in part of your lips. This makes it versatile for both subtle everyday looks and bold lip colours.
- A clearer lip outline: you emphasise the shape of your upper and lower lips.
- More control when filling in colour: the drawn outline provides a guide when applying lipstick.
- Playing with colour and contrast: blend liner and lipstick together or deliberately choose a darker outline.
- Different looks with the same pencil: pair your liner with matte lipstick, shiny gloss or lip oil.
Consider the texture when choosing too. The Cream Sculpt lip liners by By Dash Beauty have a creamy formula with jojoba oil and are intended for outlining and filling in the lips. How a complete lip look wears also depends on the products you apply over it.
Applying lip liner in 6 steps
Have a mirror, your lip liner and chosen lipstick, gloss or lip oil ready. A lip brush and tissue are useful. Start with a soft colour if you mainly want to practise the movement; you can add more contrast later.
1. Prepare your lips
Start with clean lips. If needed, apply a thin layer of lip balm and let it sit briefly. Blot away excess balm before drawing: a very slippery surface makes the line harder to control. You do not need to exfoliate before every lip look.
2. Check the tip and relax
A neat tip helps you work precisely. If your pencil can be sharpened, use a cosmetic sharpener. For a twist-up pencil, follow the packaging instructions. Place the mirror directly in front of you and relax your mouth so you can see your natural lip line clearly.

3. Follow your upper and lower lips in short sections
Start at the Cupid's bow in the centre of your upper lip. With light pressure, draw short sections towards both corners. Then follow the lower lip from the centre outwards and connect the lines.
4. Blend the inner edge
Work the pigment slightly inwards with a clean lip brush or fingertip. This softens the transition to the rest of your lip colour. To use the liner as a colour layer too, lightly fill in your lips.
5. Choose your finish
With lipstick you fill in the space within the outline. With lip gloss you add shine and possibly extra colour. With lip oil you can also give the liner a glossy finish, even without lipstick. Apply your chosen product in a thin layer first, then decide whether you want more.
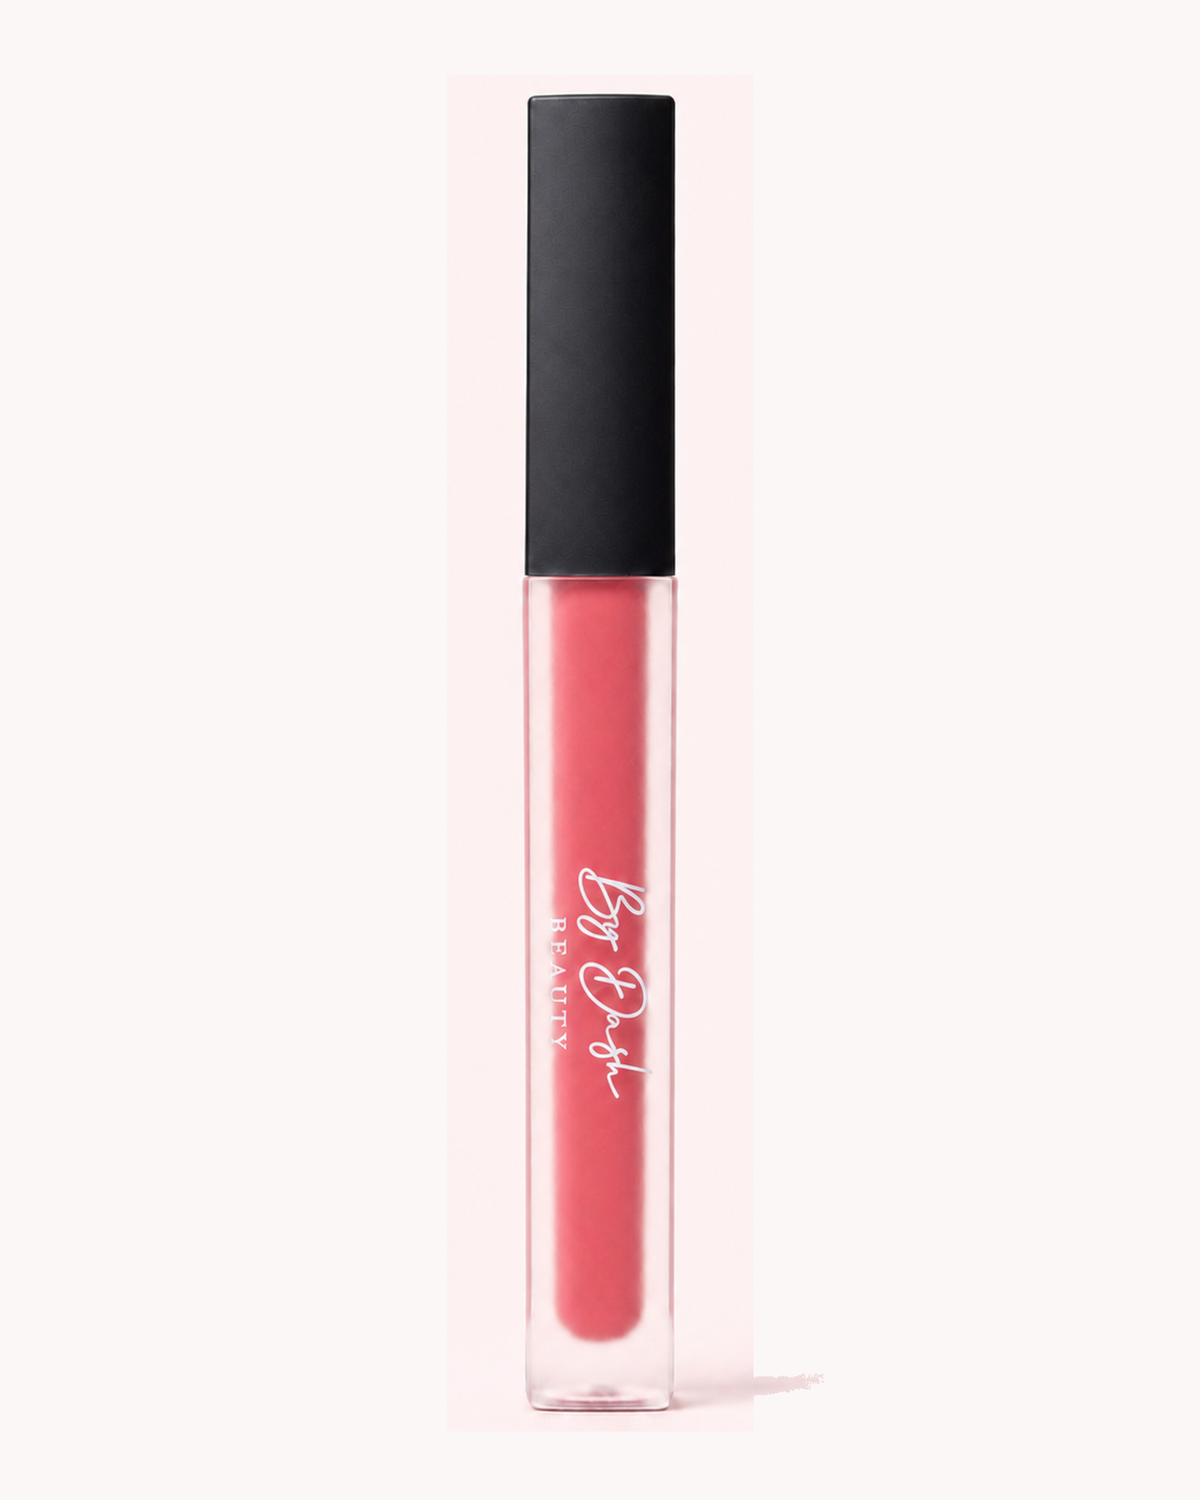
Choosing a matte liquid lipstick? Follow our guide to applying, drying and touching up liquid lipstick.
With a darker liner and lighter gloss, place the gloss in the centre first. Then work carefully towards the outline. This lets you decide how much of the drawn edge stays visible as you apply it.
6. Check the whole lip look
Step back from the mirror. Is the transition how you want it, are the corners connected and is the amount of shine right? Touch up only where needed. You can remove a small mistake locally with a cotton bud and remover suitable for lip makeup; blot the area dry before drawing again.
Which lip liner colour suits you?
Start with the look you want to create. Use the table below to choose a first shade to try.
| Your desired look | A useful starting point |
|---|---|
| Subtle definition | Compare the liner with your natural lip colour. Start with a thin outline. |
| Liner and lipstick that blend together | Place the colours side by side and choose a similar shade. |
| A visible brown outline | Choose brown in your desired depth and blend towards the centre for a gradual transition. |
| A striking lip colour | For example, try pink with pink lipstick or red with red lipstick as a first combination. |
Look beyond your skin tone
A colour that looks good on an arm may appear different on your lips. Your natural lip colour matters, as do the lighting and the colour you wear over it. Use swatches to compare shades. Ideally view them on more than one skin tone and read the product description too.
Your undertone can help you choose between, for example, a warmer brown and a pinker shade, but it does not have to be a fixed rule. Do you want a soft look or plenty of contrast? That choice is a more practical starting point than assigning one shade to an entire group of skin tones.

The brown Cream Sculpt range includes Mocha Muse and the dark brown Cocoa Crush. Also compare Almond Allure, Chestnut Charm and Pecan Passion in the collection. A darker shade mainly adds definition when it clearly contrasts with your natural lip colour or chosen lipstick.
Pairing lip liner: three lip looks to try
You do not need to buy a whole new routine to start using lip liner. Choose a finish you already enjoy and build from there. These three examples show how to combine definition, colour and shine.
1. Mocha Muse with Ambitious Lip Oil
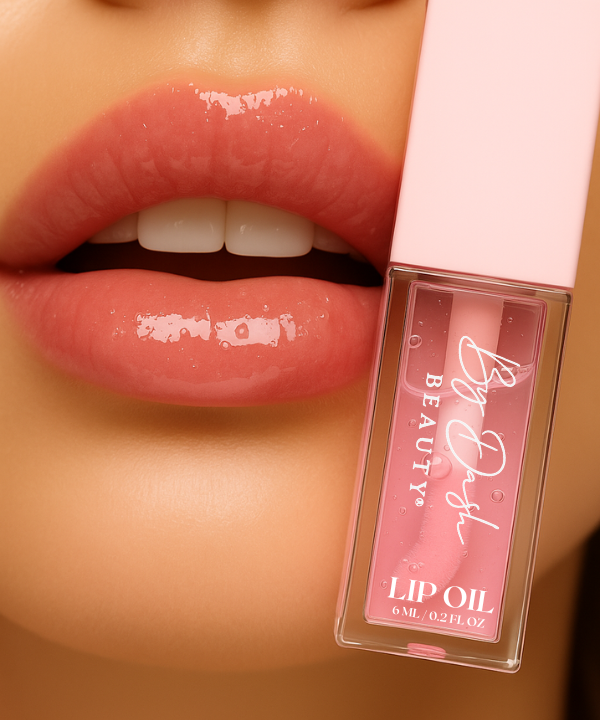
Mocha Muse is a brown Cream Sculpt lip liner. One combination to try is a thin outline, blended inwards, with Ambitious Lip Oil. Ambitious has a clear glossy finish, allowing you to use the liner's colour as your starting point.
How to build the look: draw the lip line first, blend it and add a thin layer of lip oil. Then decide whether to strengthen the outline. How subtle the overall look appears depends on the contrast between Mocha Muse and your natural lip colour.

2. Brown lip liner with Naked Lip Gloss
Want to try a dark brown outline with a nude beige gloss? Pair Cocoa Crush with Naked Lip Gloss. This is a suggestion for a look with contrast and shine; judge the final colour balance on your own lips.
How to build the look: apply a thin line and blend the brown inwards. Place a little gloss in the centre and work carefully outwards. Keep the outline distinct for a defined look, or blend it further for a softer transition.

3. Rose with Role Model lipstick
Prefer a pink combination? Rose is a deep pink lip liner paired on its product page with Role Model matte lipstick. Draw your outline with Rose, blend the inner edge and apply lipstick inside the line. Follow the lipstick's instructions for application and drying.

Want to know which glossy finish suits you? Also read what lip oil does and how it differs from lip gloss and lip balm.
How can you subtly overline your lips?
Overlining means drawing just outside the natural lip line to make your lips look fuller. Start small and blend the inner edge. This changes the drawn shape, not the size of your lips.
Practising for the first time? Create a look along your own lip line first. This helps you learn how the liner draws and how strong the colour appears. Then assess small sections to decide whether to work outside the line. Following your natural shape is a complete lip look too.

The image illustrates three lip looks:
- Natural: follow your natural lip line.
- Visually fuller: draw just outside your lip line in the centre, following your natural line at the corners.
- Ombré: create a darker outline and lighter centre. Blend the transition for a soft colour gradient.
Common mistakes and solutions
- The edge looks harsher than intended. Blend mainly the inside of the line. Next time, consider whether less contrast better suits the result you want.
- The line becomes too thick. Check the tip and use less pressure. Build up locally rather than adding another layer everywhere.
- The liner slips while drawing. Blot away excess balm or oil first, then try again with short strokes.
- The gloss lifts a lot of liner. Try less gloss and apply it with fewer movements. After the first layer, check how much outline is still visible.
- Colour is missing at the corners. Open your mouth slightly, connect the separate sections and check again with relaxed lips.
Frequently asked questions about lip liner
Do you apply lip liner before or after lipstick?
Start with liner, then fill the outline with lipstick. Touch up the edge if needed.
Does lip liner have to be darker than lipstick?
No. A similar shade creates a soft transition. A darker liner adds definition or contrast. Let your desired lip look determine how big the colour difference should be.
Can you wear lip liner without lipstick?
Yes. Outline your lips and blend the colour inwards, or lightly fill them in. Add lip gloss or lip oil if you like. Lipstick is optional.
Can you apply lip oil over lip liner?
Yes. Draw and blend the lip liner first, then add a thin layer of lip oil. With a clear oil, the underlying lip colour remains the starting point; a tinted oil also adds colour.
Why is sometimes only the outline still visible?
The colour in the centre and the outline may fade differently during wear. Check both when touching up. For a softer transition, blend some liner inwards beforehand and choose less colour contrast.
How do you remove lip liner?
Use a remover suitable for lip makeup and follow the packaging instructions. Remove the colour with light movements. A long-lasting formula may need a remover designed for that purpose.
Ready to choose your own combination? Explore the By Dash Beauty lip liners and compare the shades with your favourite lip product. Start with a thin outline: as you apply, you can decide whether you want more colour, contrast or shine.

Leave a comment
This site is protected by hCaptcha and the hCaptcha Privacy Policy and Terms of Service apply.